How to add measurements to a photo
Keep your site measurements and instructions on the same image, ready to send to a colleague or installer.
1. Choose a clear photo
Photograph the window, wall or fitting you need to document, or import a photo from your device. Keep the whole work area visible.
2. Record your measured dimensions
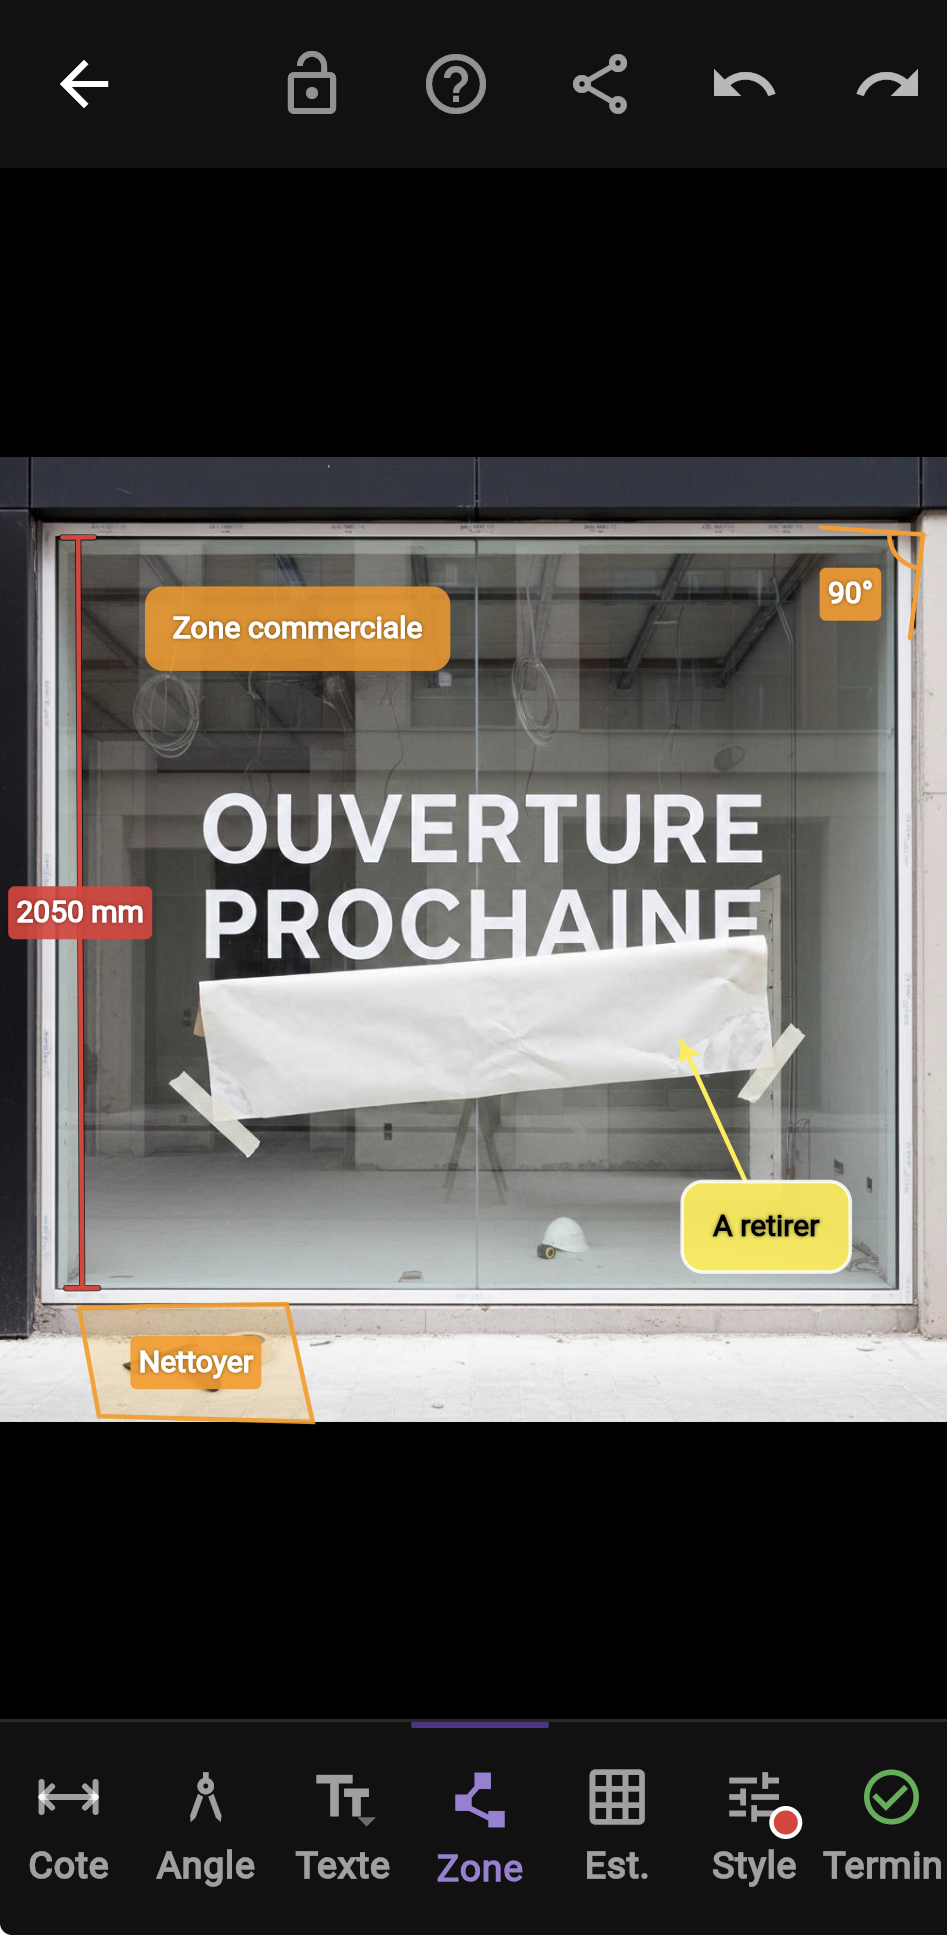
Measure on site with a suitable professional tool. Draw a dimension line on the photo, enter the value and choose its unit. Add angles, zones and comments to explain the work.
3. Make the instructions easy to follow
Name the photo, position labels clearly and lock finished annotations. For a shop window, identify the installation area and mark any material to remove.
4. Export the right deliverable
Light lets you try up to two photos and export watermarked JPEG images. Starter adds unlimited photos and watermark-free JPEG exports. Premium adds site PDFs and editable .snapcote files, including import and reopening.
When should you use estimation?
Estimation is optional. A four-point reference with known dimensions calibrates a plane in the photo. Measurements inferred in that same plane remain estimates: check critical dimensions with a professional measuring tool before ordering, fabrication or installation.
Keep an editable copy with Premium
JPEG and PDF deliver a fixed view. The Premium-only .snapcote file keeps photos and annotations editable, so a Premium user can reopen the report and continue working on it. Share the file using your preferred transfer method; no cloud service is imposed.